
Creating a repository sounds like the simplest task. In GitHub, it’s a big green button on the homepage. In Azure DevOps, it requires knowing exactly where you are in the hierarchy of Organizations and Projects.
In this guide, I am going to walk you through the exact steps to create a new repository in Azure DevOps, the architectural decisions you need to make before you click “Create,” and the best practices.
How to Create a New Repo in Azure DevOps
Understanding the Hierarchy: Organization vs. Project vs. Repo
Azure DevOps has a strict hierarchy:
- Organization: The top level (e.g.,
dev.azure.com/AzureLessonsUSA). - Project: A container for work items, pipelines, and repos (e.g.,
HR-Systems). - Repository: The actual place where your code lives.
A single Project can contain multiple Repositories.
This is crucial. You do not need to create a new “Project” every time you write a new microservice.
Method 1: The Standard GUI Approach (Web Portal)
This is how 95% of users will create a repo. It is straightforward if you know where to look.
Log in to your Azure DevOps organization. Select the specific Project where this code belongs.
Step 2: Access the Repos Service
On the left-hand sidebar, you will see the Repos icon (it looks like a branch structure). Hover over it and select Files. Check out the below screenshot for your reference.

Step 3: The Dropdown Switch
This is the hidden trap.
At the very top of the screen, you will see the name of the current repository (usually the default one created when the project started).
- Click that name (it is actually a dropdown menu).
- Select + New repository from the bottom of the list. See the below screenshot for reference.

Step 4: Configuration
A flyout pane will appear on the right. You will need to make three specific choices here.
- Repository Type: Git vs. TFVC (See the comparison below).
- Repository Name: Use a standard naming convention (e.g.,
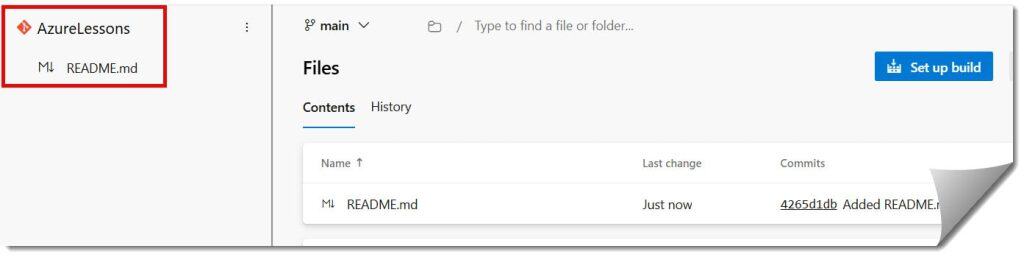
service-payment-gateway). - Add a README: Check this box. Always check this box. It initializes the main branch so you can clone it immediately. Check out the screenshot below for the complete steps.

Method 2: The Command Line Interface (Azure CLI)
You can create repos directly from PowerShell or Bash using the Azure CLI.
While I won’t run a live script here, the logic is simple. You need the azure-devops extension installed. The command structure typically follows:
az repos create --name "MyNewRepo" --project "TeamTsinfo" --org "https://dev.azure.com/fewlines4biju"After executing the above query, I got the expected output as shown in the screenshot below.