
In this comprehensive tutorial, we will break down the az webapp create command from the ground up. We will look at prerequisites, examine essential parameters, map out runtime stacks, and explore the advanced flags that allow you to configure production-ready hosting environments entirely from the command line.
az webapp create
Prerequisites:
To follow along with this tutorial, you will need a functioning Azure environment. Let’s establish a clean, organized baseline setup.
1. Authenticate and Select Your Subscription
First, verify that your CLI session is authenticated and pointing to the correct billing container.
Bash
# Log into your Azure account
az login

# List subscriptions to find the correct ID
az account list --output table

# Set the active subscription context
az account set --subscription "Your-Subscription-Name-or-ID"
After executing the query above, I obtained the expected output shown in the screenshot below.


2. Establish the Resource Group and App Service Plan
An Azure Web App cannot exist in a vacuum. It requires two parent resources:
- A Resource Group: A logical container for your Azure assets.
- An App Service Plan: The underlying virtual machine wheelhouse that provides the CPU, memory, and OS characteristics for your application.
Let’s provision these infrastructure dependencies now:
Bash
# Define variable parameters for easy modification
RESOURCE_GROUP="rg-dev-webapps-eastus"
LOCATION="eastus"
PLAN_NAME="asp-dev-linux-flexible"

# Create the logical resource container
az group create --name $RESOURCE_GROUP --location $LOCATION

# Create a Linux-based App Service Plan on the Basic tier
az appservice plan create \
    --name $PLAN_NAME \
    --resource-group $RESOURCE_GROUP \
    --location $LOCATION \
    --sku B1 \
    --is-linux
Check out the screenshot below for your reference.
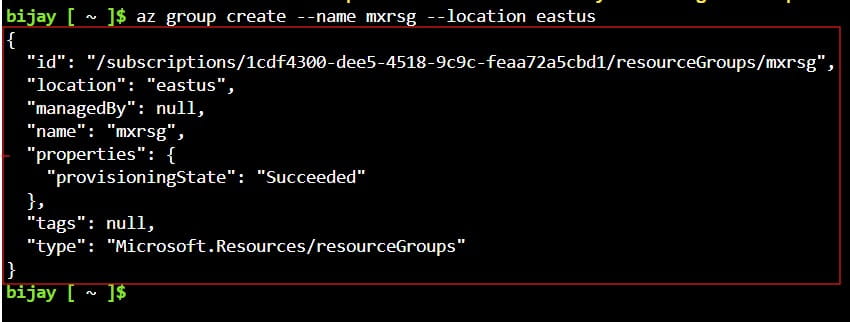
With the resource group and host plan established, the foundation is ready for the core deployment command.
Understanding the Core Syntax of az webapp create
The structural anatomy of the az webapp create command relies on three mandatory arguments, alongside a variety of optional parameter flags that determine the OS runtime platform and code delivery mechanics.
The foundational blueprint of the command looks like this:
Bash
az webapp create \
    --name <unique-app-name> \
    --resource-group <group-name> \
    --plan <app-service-plan-name>
However, running this bare-minimum command without specifying a runtime stack or deployment mechanism will cause Azure to fall back to default assumptions (often an older Windows .NET stack), which might not align with your application needs.
Let’s examine the primary functional inputs used to customize this behavior:
| Parameter Flag | Requirement | Functional Purpose |
| –name / -n | Mandatory | The globally unique name of your web app. This string forms your default public endpoint URL: https://.azurewebsites.net. |
| –resource-group / -g | Mandatory | The existing Azure Resource Group where the web app’s metadata and tracking endpoints will live. |
| –plan / -p | Mandatory | The target App Service Plan that dictates the computing capacity and OS architecture. |
| –runtime / -r | Optional | Specifies the built-in language stack and version framework (e.g., DOTNET|8.0, NODE|20-lts, PYTHON|3.11). |
| –docker-custom-image-name / -i | Optional | Points to a pre-built container image in Docker Hub or Azure Container Registry for containerized deployments. |
Runtime Selection: Code vs. Container Deployments
When preparing to execute az webapp create, you must choose between two distinct application architec