
Creating a high-quality user story in Azure DevOps establishes a clear contract between the product owner and the engineering team. In this article, I will walk you through the precise steps to create an authoritative user story within Azure Boards, ensuring your backlog is ready for a high-velocity sprint.
How To Create User Story In Azure DevOps
Before we can create a story, we need to be in the right environment. Azure DevOps provides multiple “hubs” for managing work, but for user stories, we focus on Azure Boards.
- Sign in to your Azure DevOps organization (e.g.,
dev.azure.com/YourOrganization). - Select your Project from the dashboard.
- On the left-hand sidebar, hover over Boards and select Work Items or Backlogs. Check out the screenshot below for your reference.
Pro Tip: I always recommend working from the Backlog view. It allows you to see where your new story fits in the overall priority of the product relative to other items.

Creating the User Story: Step-by-Step
There are two primary ways to add a story. You can use the “New Work Item” button for a full-screen entry, or the “Quick Add” feature on the backlog for a rapid way.
Method A: The Full Work Item Form
This is the preferred method when all your requirements are ready.
- Click the + New Work Item button.
- Select User Story from the dropdown menu. (Note: Depending on your process—Agile, Scrum, or CMMI—this might be called a “Product Backlog Item” or “Requirement”).
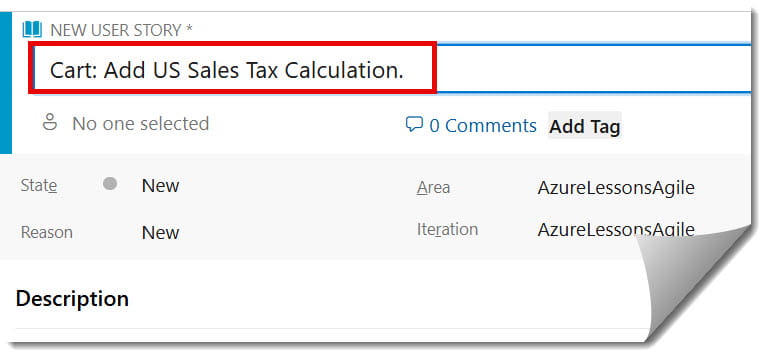
- Title: Enter a descriptive title. I recommend a “Feature: Action” format, such as “Cart: Add US Sales Tax Calculation.”

Method B: The Quick Add (Backlog View)
If you are in a refinement session with your team, use the green plus sign at the top of the backlog list.
- Type the title.
- Press Enter.
- Click the title afterward to open the full form and add the “meat” of the story.
Check out the screenshot below.